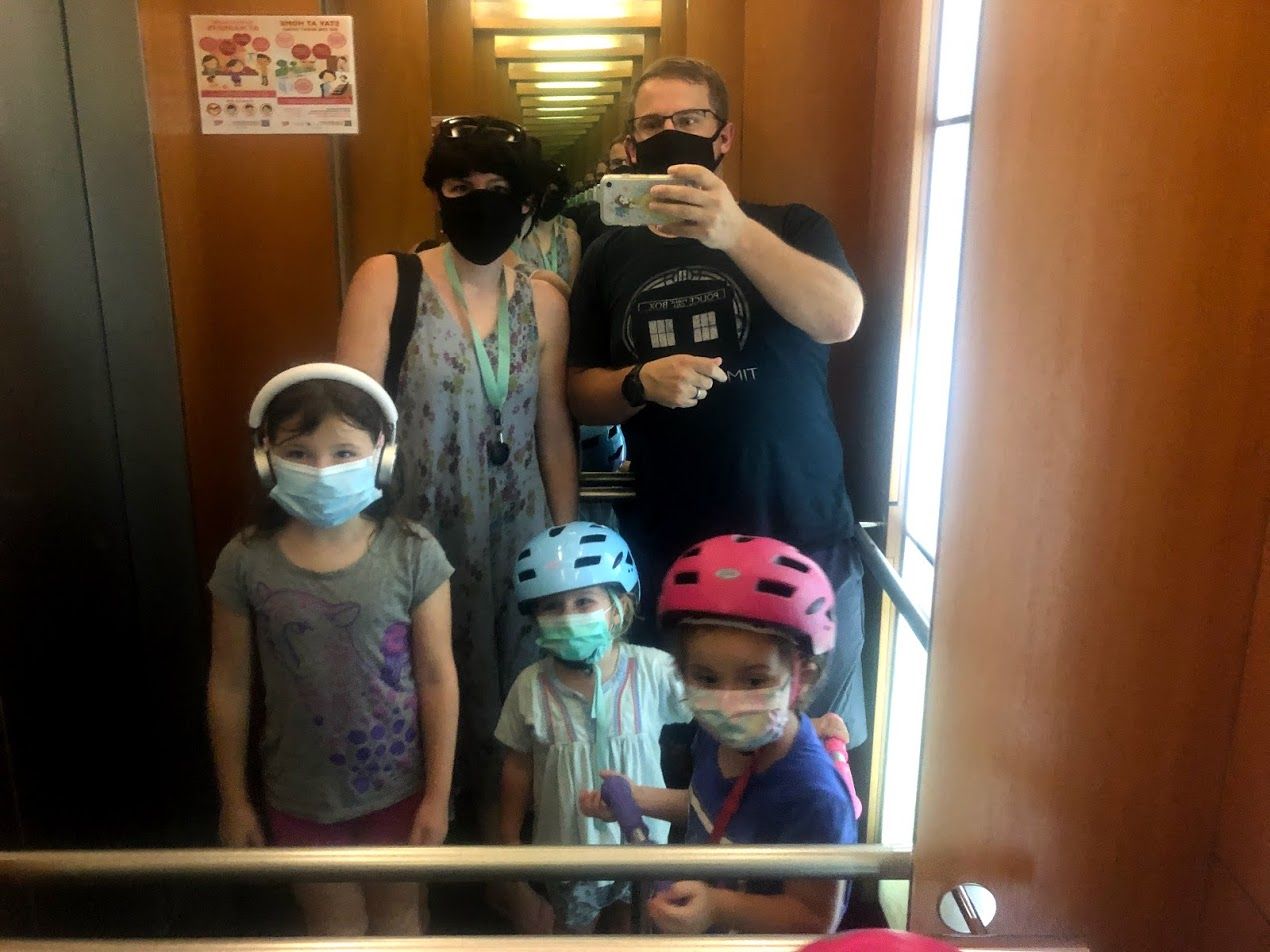
Masks are now mandatory in Singapore.
We pulled out the government issued masks. Unfortunately, they only really fit Jonathan. I tried cutting and making my straps shorter and it's okay for a short time, but then it starts to slide down my nose. I found it hard to breathe through it on our little walk. We picked up masks near the end of the distribution so there were no smaller masks. Not sure if they had different sizes at the beginning or not.
I started hand stitching kids masks yesterday. I worked out a pattern to make reversible ones. I watched a few adult mask tutorials on you tube. Then I used the measurements from a child's size paper mask we have in the closest. We only have a few paper kids one; They're not going to last long.
I don't have a converter for my sewing machine. It's uselessly sitting in the closest. After realizing how long hand sewing takes, Jonathan worked out what converter I need and ordered me one online. It should arrive at the end of April.
Until then I'm hand sewing masks. I stayed up watching TV finishing MsE's. It's so cute and she didn't complain today that she couldn't breathe like she did with the paper one she tried yesterday. With the paper one she was whining and asked me to carry her home after 10 minutes - unusual behaviour for her.
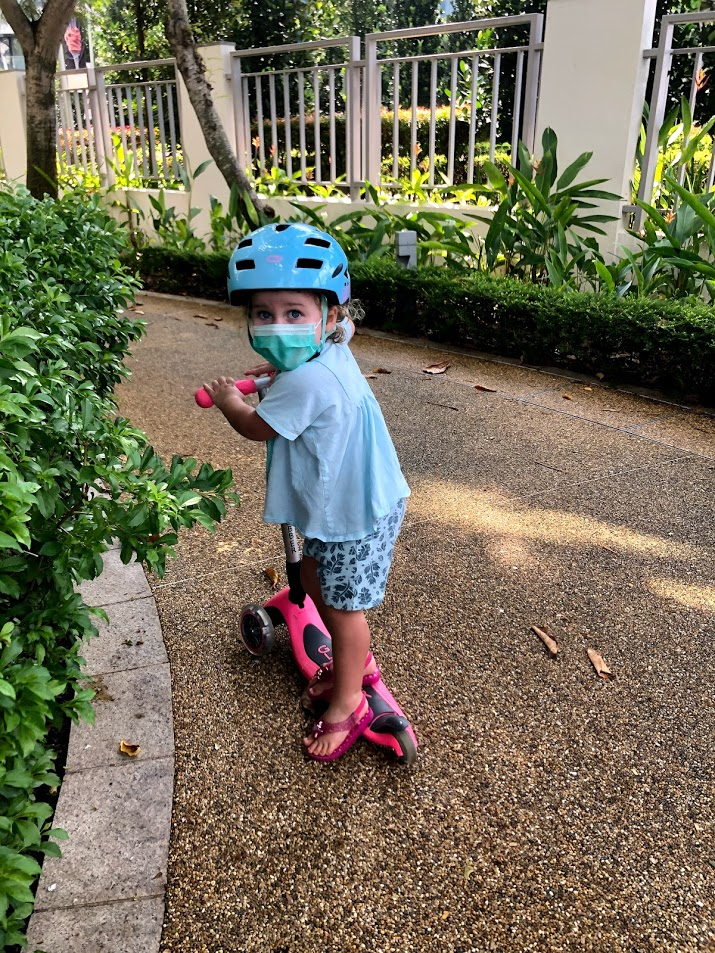
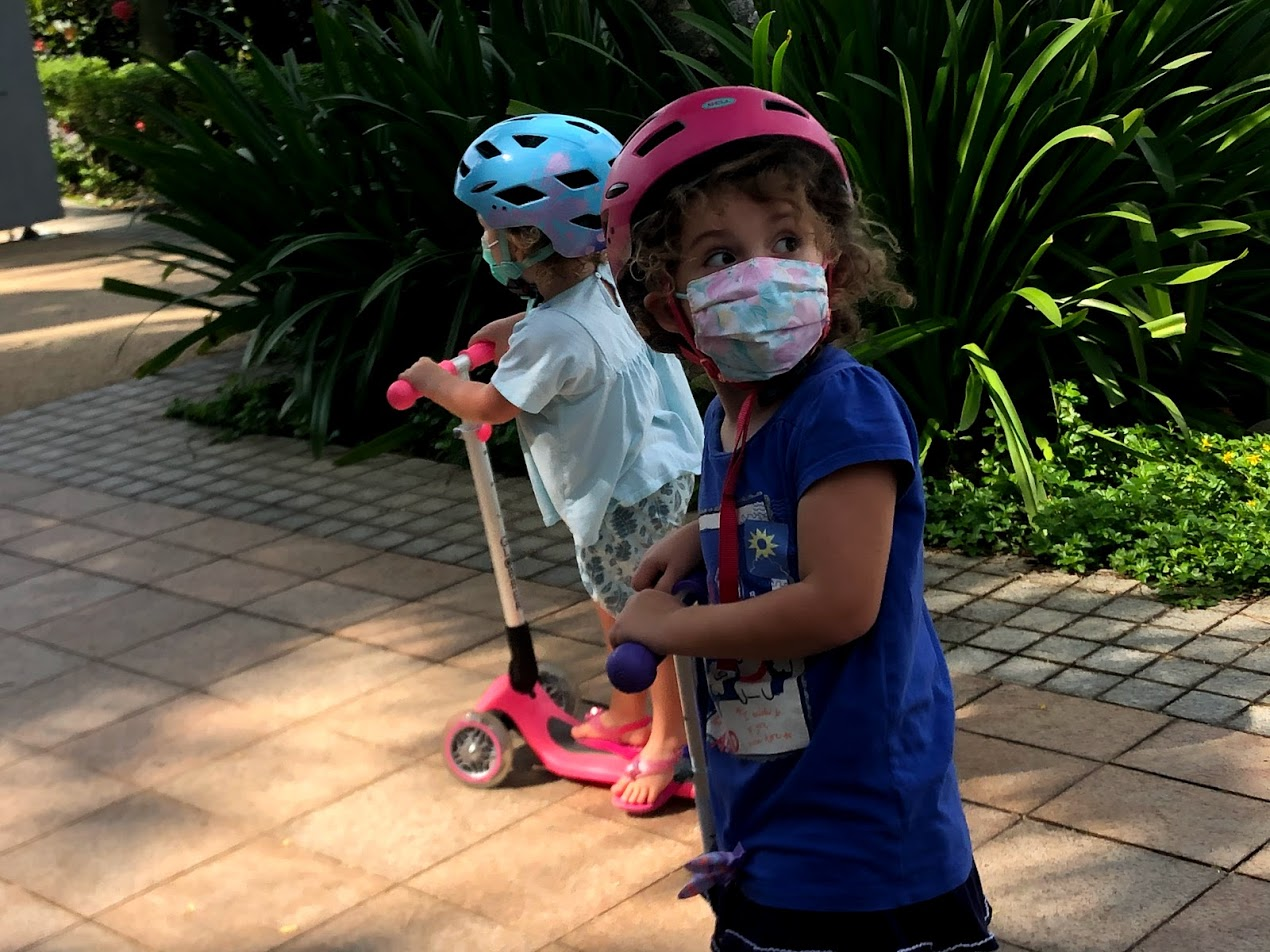
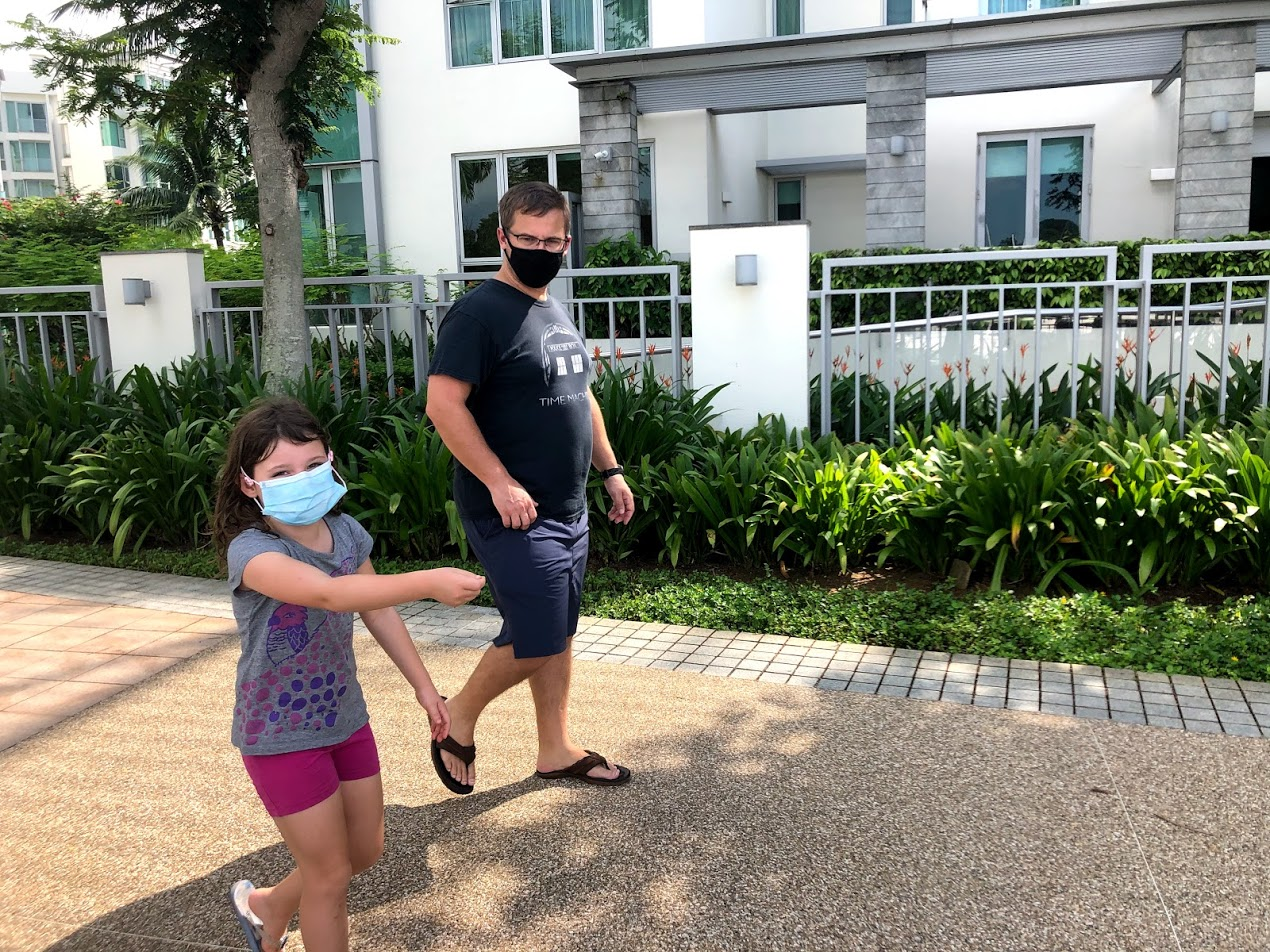
This morning we took the kids out for a short walk around our complex to practice wearing masks. Everyone did great. I think the scooters and helmets helped distract the little ones from the masks.
Pattern (Ages 2 - 5):
Note: The CDC say, do not use a mask on children under 2. I imagine it's a strangulation risk.
- 3 pieces Quilting cotton tightly woven. Cut to 6 inches wide by 6 1/2 inches tall.
- 2 hair elastics cut open into one length
- Place the 2 outside pieces with right side facing each other with the elastics pinned inside these 2 at the top and bottom of the each side. The elastics need to be lying on the cotton; not hanging out the sides. Place the lining piece on top of the other 2.
- Sew along all 4 sides leaving a 2 inch hole to so you can turn the mask right side out. Reinforce where the elastics are.
- Turn mask to right side out.
- Use and iron (or a hair straightener, if you don't have an iron) to press the edges and made 3 - 1/2 inch pleats across the mask. The pleats let the mask widen to cover the nose and chin. Sew around the 4 sides.
- Wash mask daily, if used. I haven't tried them in the the dryer yet, but most tutorials seemed to say it was okay. I think the only risk is the hair elastics).
I'm going to try making MsC's with fabric cut an inch wider (7 inches X 7 inches). I imagine that will work for ages 6 - 12.

